Hello and welcome to a crash course in managing SCHTlab.ca. I’ll be your host, Disembodied Voice of a Student From Long Ago, or DEVOSLA. Let’s learn some WordPress skills!
Before we begin…
WordPress, content management systems, and working with websites in general is all about not being scared to try new things. There’s nothing you can do that is unfixable, and there is no way you can break content you are creating. There is ALWAYS a solution. A lot of web management is just good Googling. You’re a researcher. You were made to look up stuff and figure out how it works. It is critical that you develop these problem solving skills. That said, there are a ton of resources to help you along the way:
- Learn WordPress: https://wordpress.com/learn/
- How to use WordPress: https://blog.hubspot.com/marketing/wordpress-website
- Getting Started with WordPress: https://codex.wordpress.org/Getting_Started_with_WordPress
- WordPress Tutorials For Beginners (YouTube): https://www.youtube.com/watch?v=kYY88h5J86A
- WordPress Blocks system walkthrough (how to edit pages): https://wordpress.org/documentation/article/wordpress-block-editor/
What is WordPress (WP)?
WP is a Content Management System (CMS). Knowing how to use a CMS is a vital tool for a researcher, or even just someone looking for a job in this day and age. A CMS manages information, just like folders on a computer. This CMS specifically manages web pages (which are displayed to the end user) and plugins, which are specialty widgets that do a specific task.
How do I Log In?
Glad you’re excited to get going! Someone who is already a website administrator will need to make you an account. Once you have an account, you can go to schtlab.ca/wp-login.php and use your username and password.
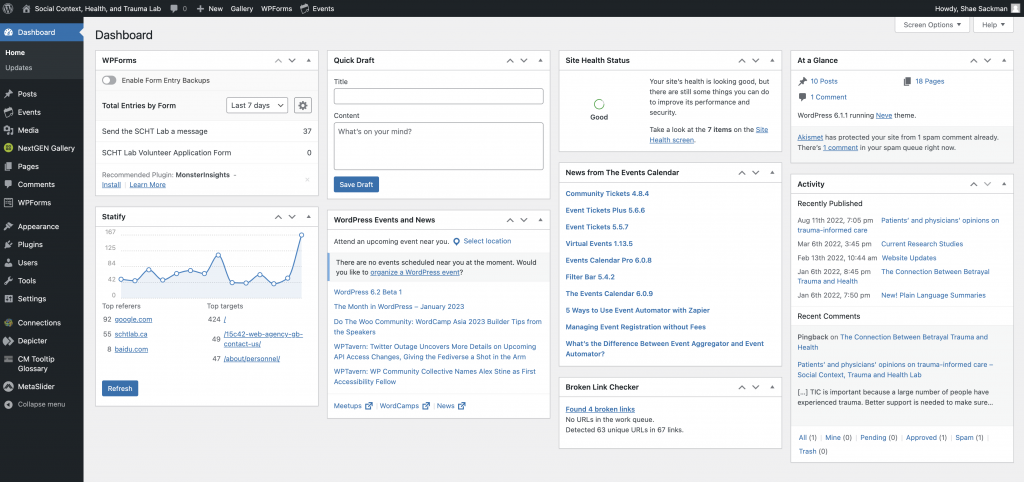
Once you are all logged in, you will land on the back-end dashboard which looks like the image to the right. WordPress has many features and is endlessly customizable – no two installations of WP are ever the same.
With hundreds of thousands of plugins and endless themes, it is unlikely you will ever do the same sorts of tasks the same way on two different WordPress websites, but they all have the same approach.
How do I update a page on the website?
Pages on the website have a back-end and a front-end version. The back-end version is the one you edit with WordPress, and the front-end version is the one the person going to the website uses. Sometimes they might look similar, and sometimes they look completely different. When you edit the ‘back-end’ web page, you publish and update the page and push it to live.
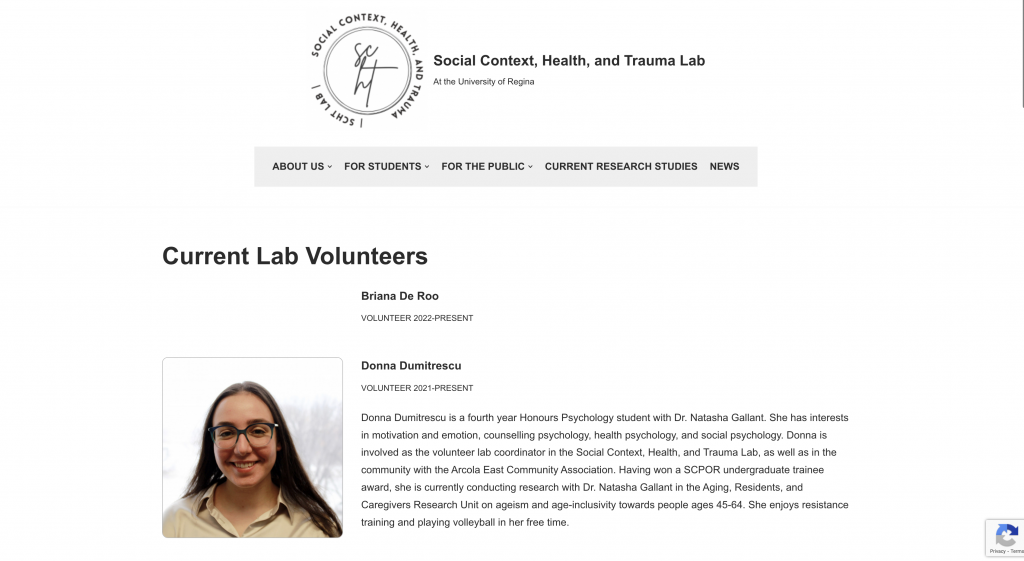
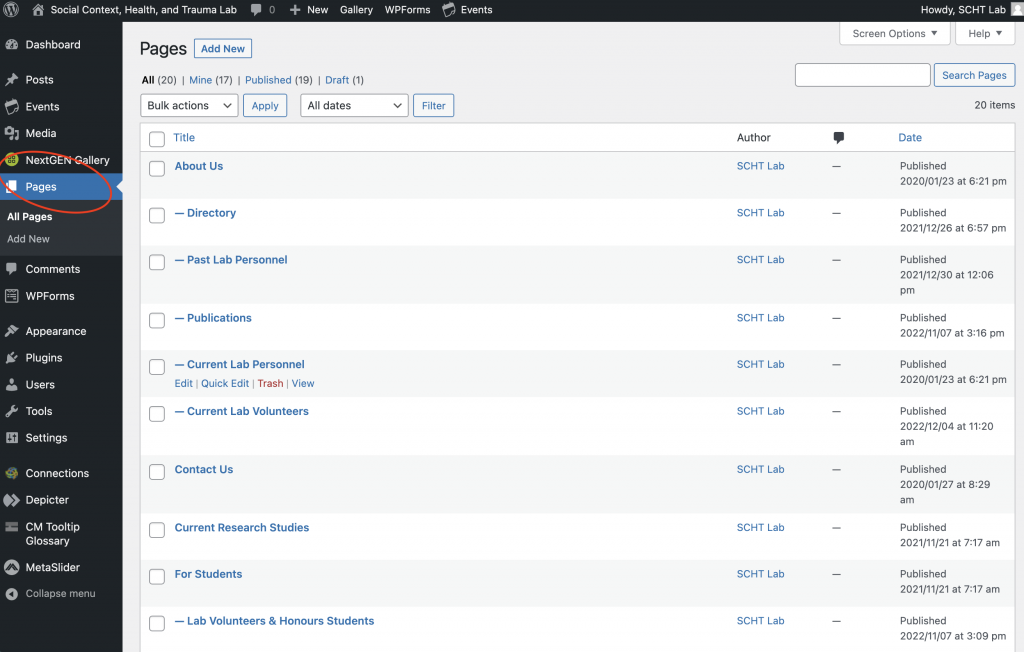
To update a page on the website, first go to the WordPress dashboard and look at the left-hand sidebar. Locate Pages and click it to see the list of pages on the website. The list of webpages has some heirarchy: you can see that the About Us page has pages that belong to it: Directory, Past Lab Personnel, Publications, Current Lab Personnel, and Current Lab Volunteers.
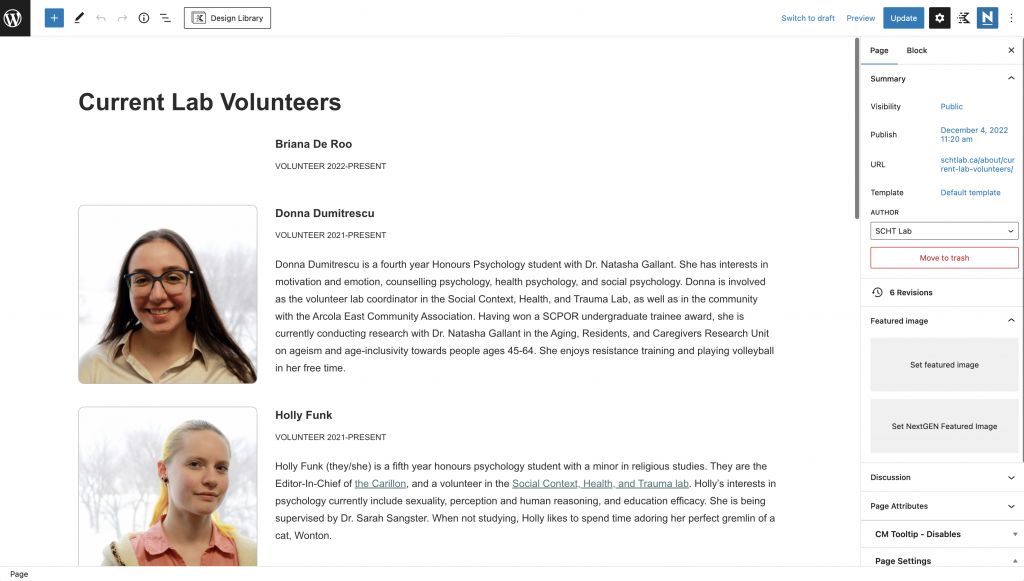
If you click a page, you will see a GUI (graphical user interface) that uses the WordPress Blocks system. You can find information on what this system has to offer here in the WordPress Blocks Documentation. This GUI allows you to change the content on individual pages to your liking.
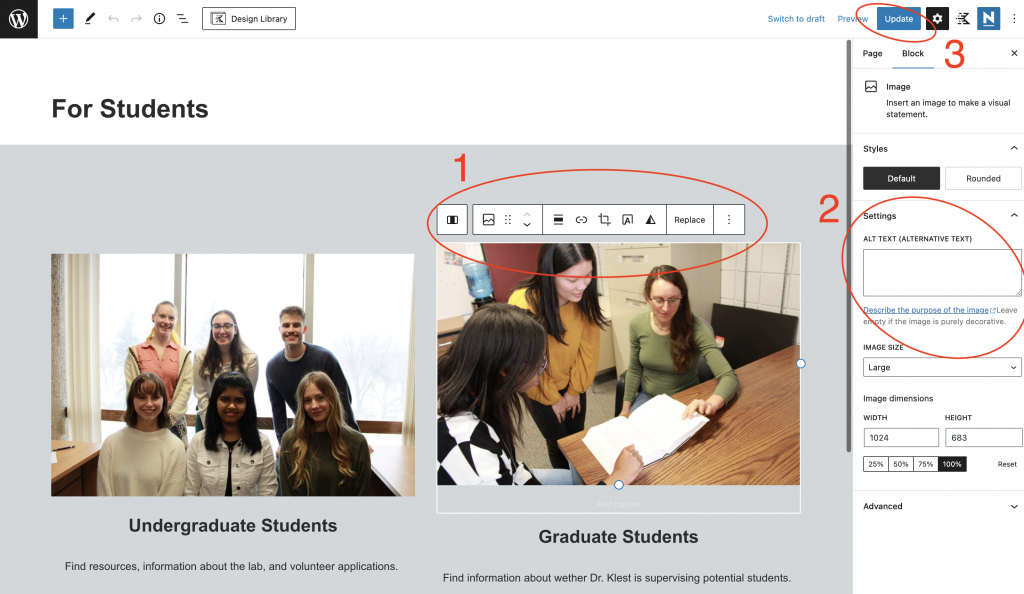
- Main Editing Pane. This is the GUI of WordPress Blocks system. When you click on elements in the main part of the edit page, various menus come up with options for you to change the content.
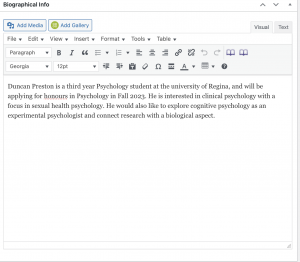
- Settings. More settings for content types and layouts can be found in the skinny pane to the right. This includes ALT TEXT for images and visual elements. ALT TEXT guide.
- Update Button. When you’ve edited the content, you click ‘update’ to send it be live and accessible from the front-end!
Adding a new person to the directory
Our directory uses a plugin called Connections. This plugin is located on the main dashboard in the left-hand sidebar. If you click it, you will be taken to a page that houses the main dashboard of the plugin.
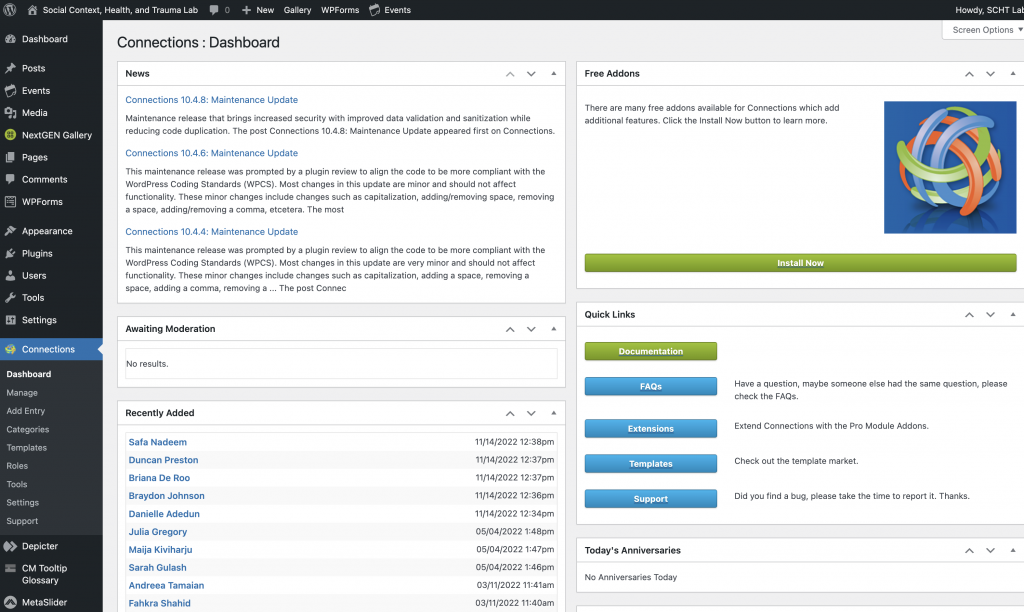
Once on the dashboard, a sub-menu shows up on the left hand side with options for the plug-in. The main options we would be considered with are:
- Manage: Edit team members who are already in the directory.
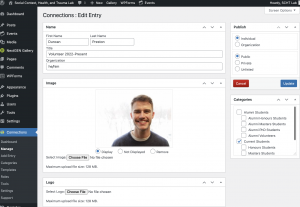
- Add entry: Add a new team member to the directory.
- Categories: Manage the categories of team members.
Making forms
Forms on the website are stored in a plugin called WPForms. This plugin controls any forms on the website that collect information.
Changing the menus and navigation
Menus in WordPress are stored in the Appearance area, found on the left-hand side of the WP dashboard.
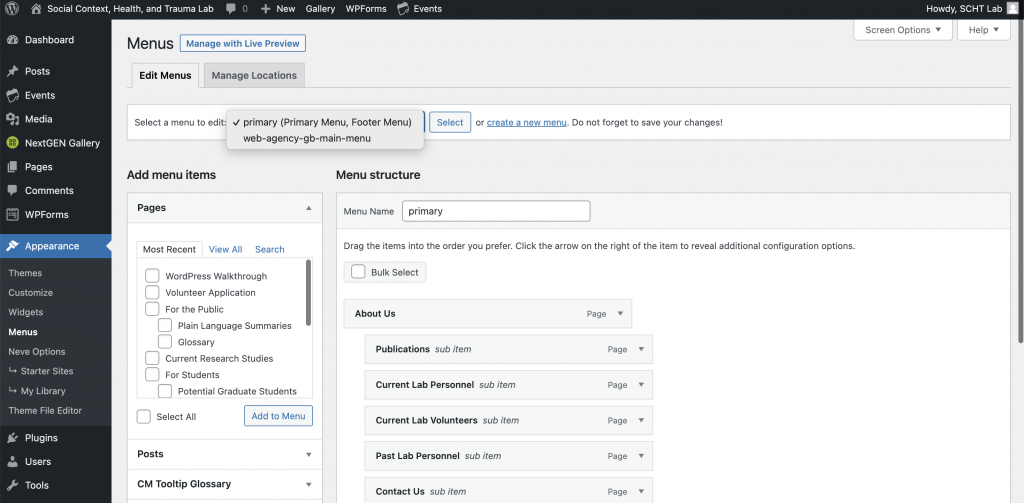
The Appearance area of the WP system controls the Themes, Widgets, and Customizations of how the website’s front-end (the public facing website with URLs) looks. This image shows how the Menus for the website are controlled.
These menus can be in the header (top part of the website), the footer (bottom part of the website), or on the side next to content.
Adding a new Plain Language Summary
Glossary Entries
Formatting and Accessibility Guide
Updating the Home Page Photo Slider
The plugin managing the slideshow is called NextGEN Gallery and it is the raddest thing ever. It looks and works a lot like Photoshop or another imaging program, and the possibilities are endless.